 Veteran-built.
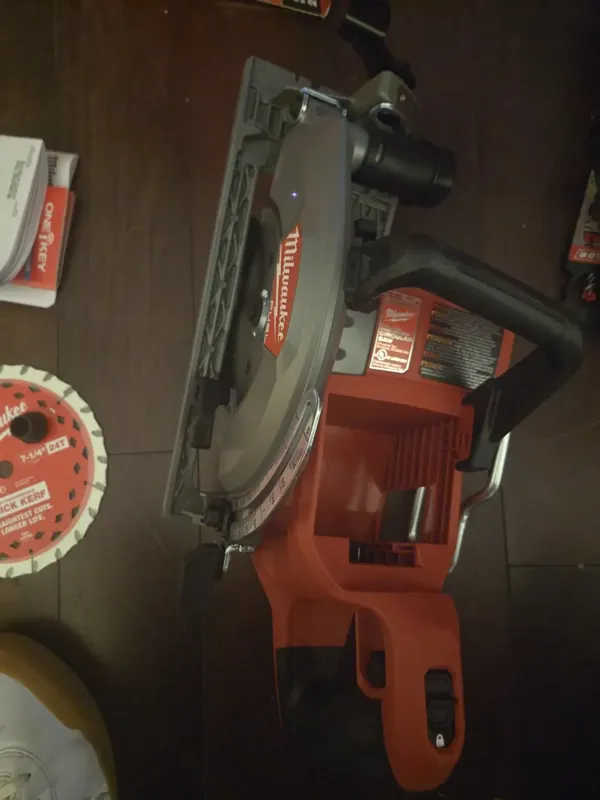
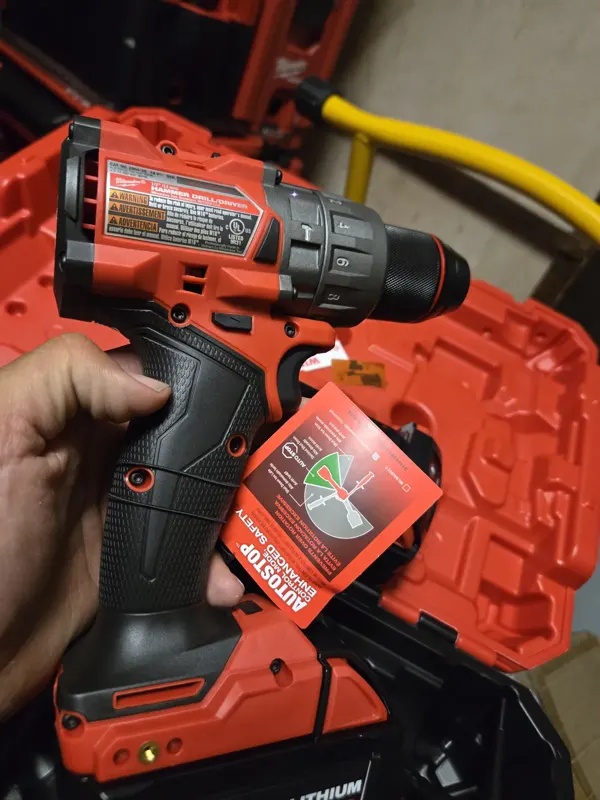
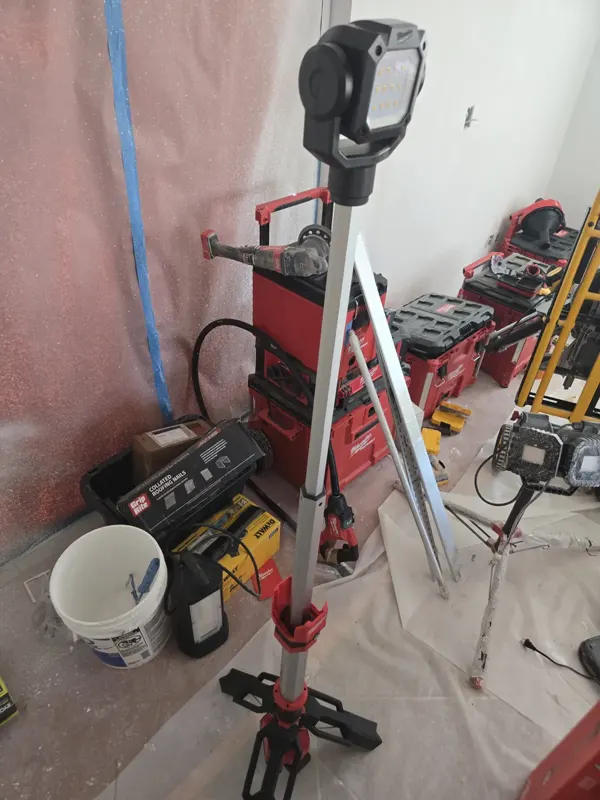
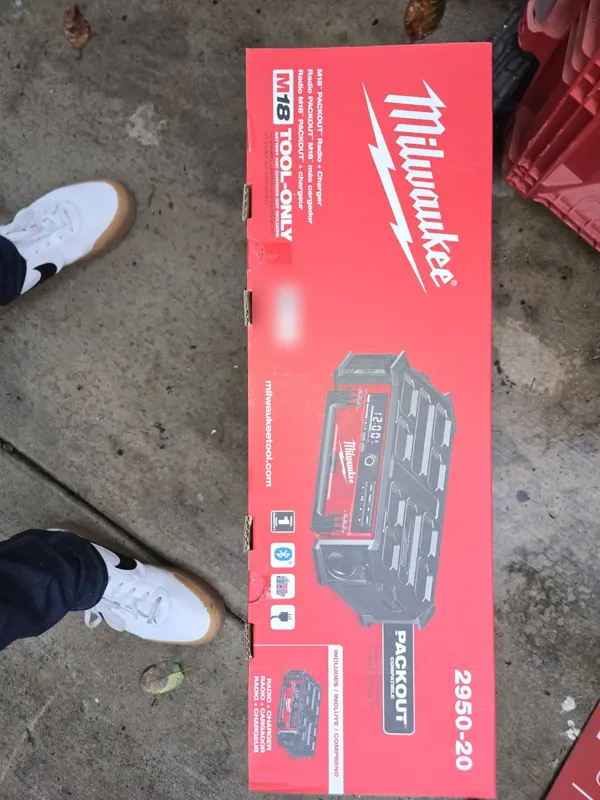
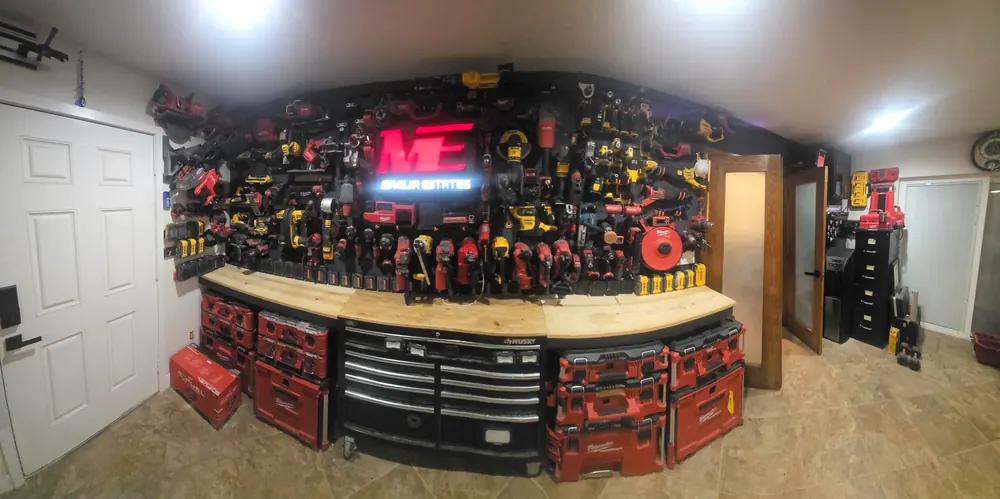
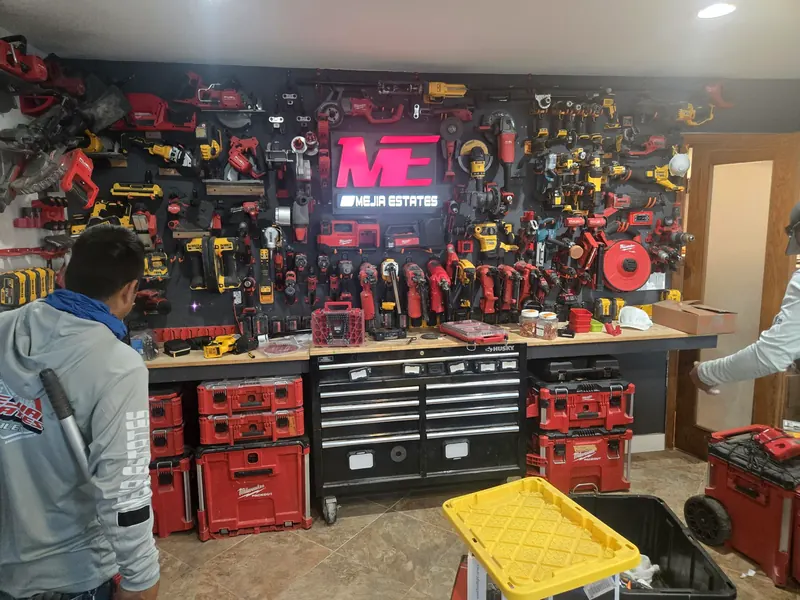
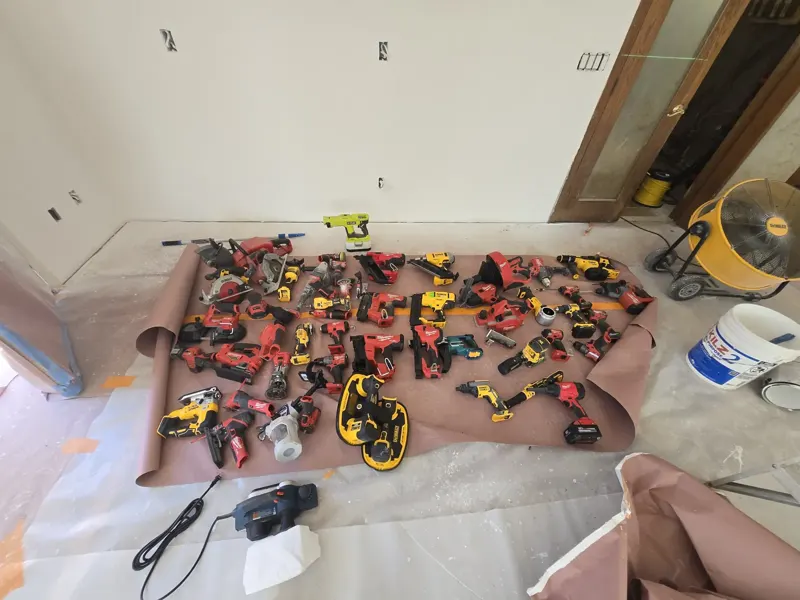
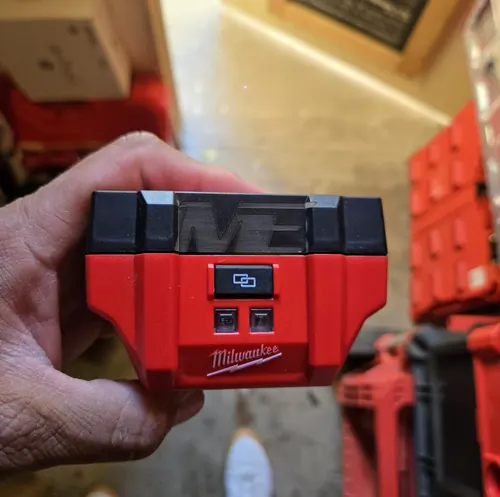
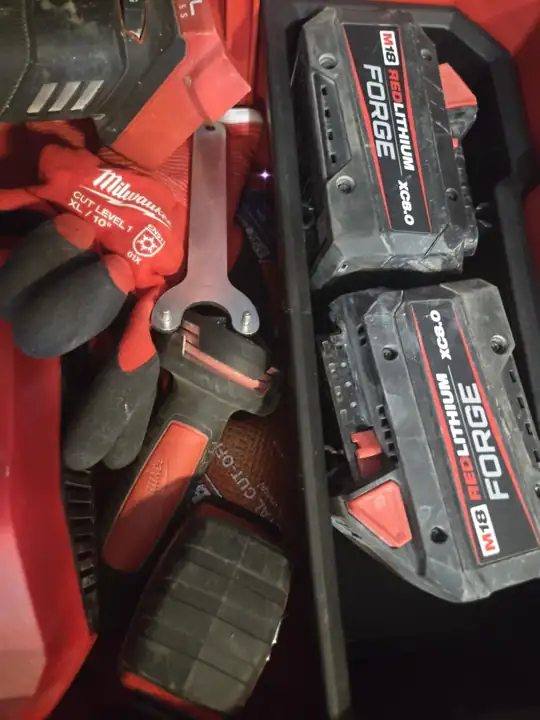
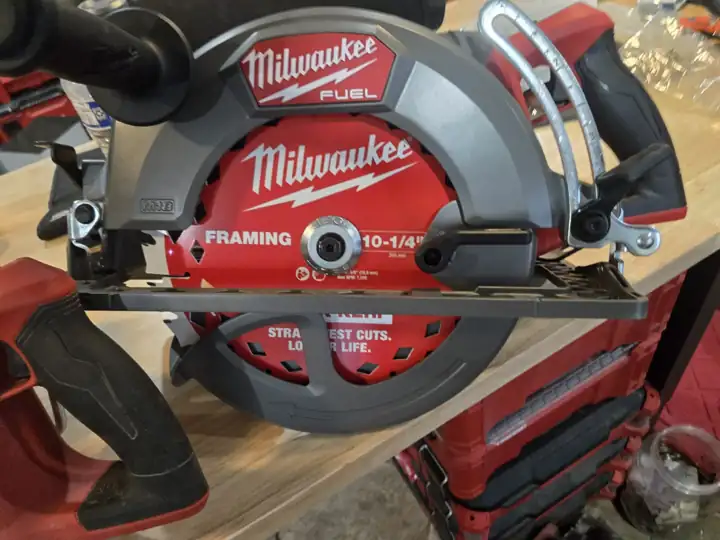
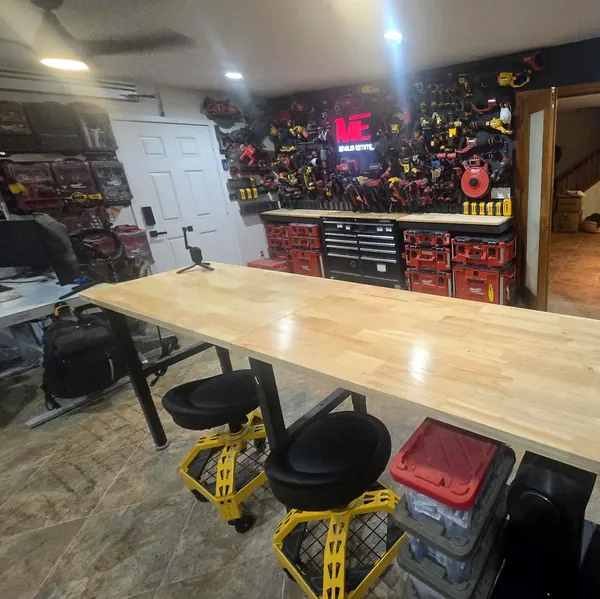
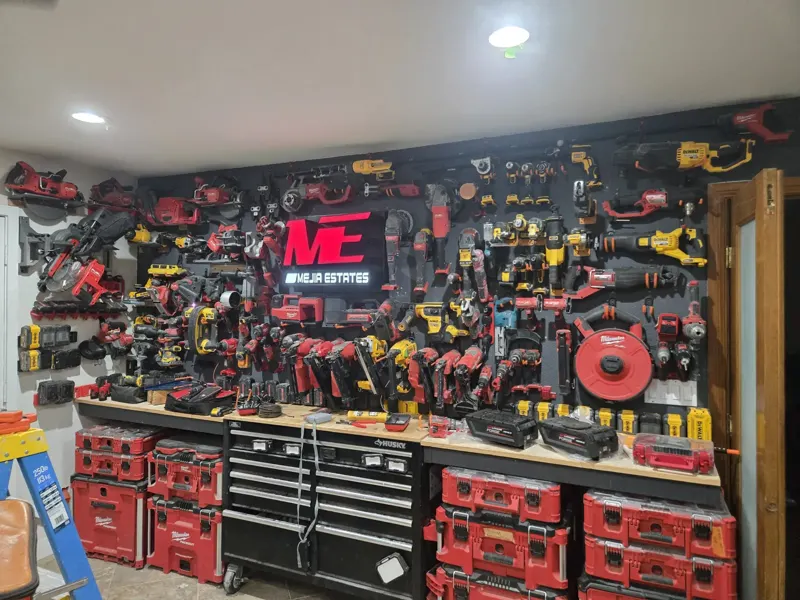
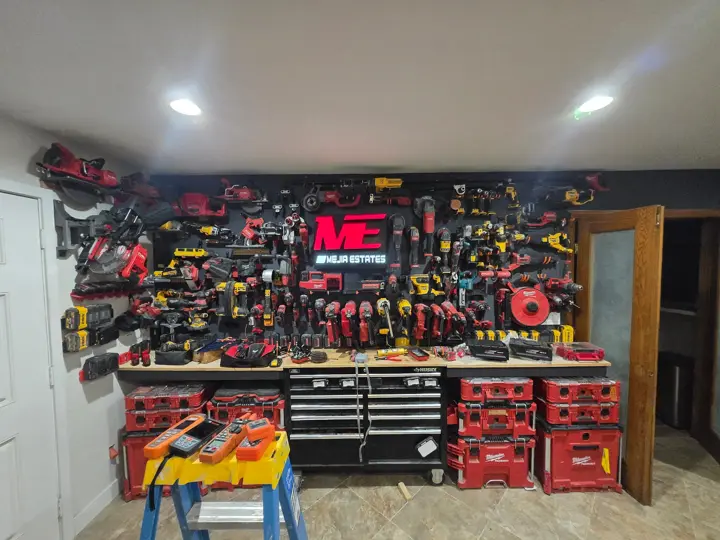
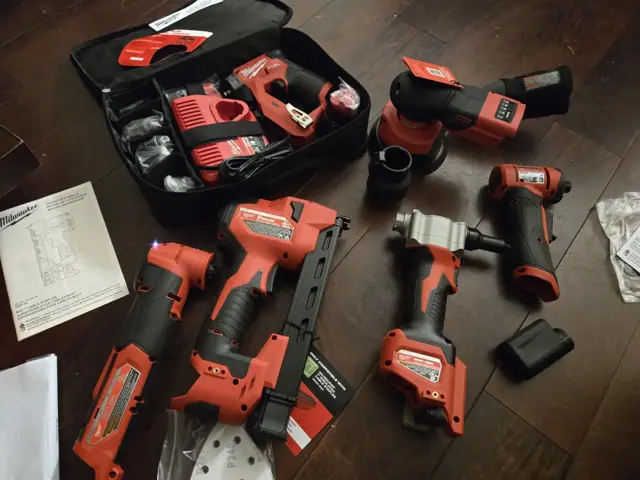
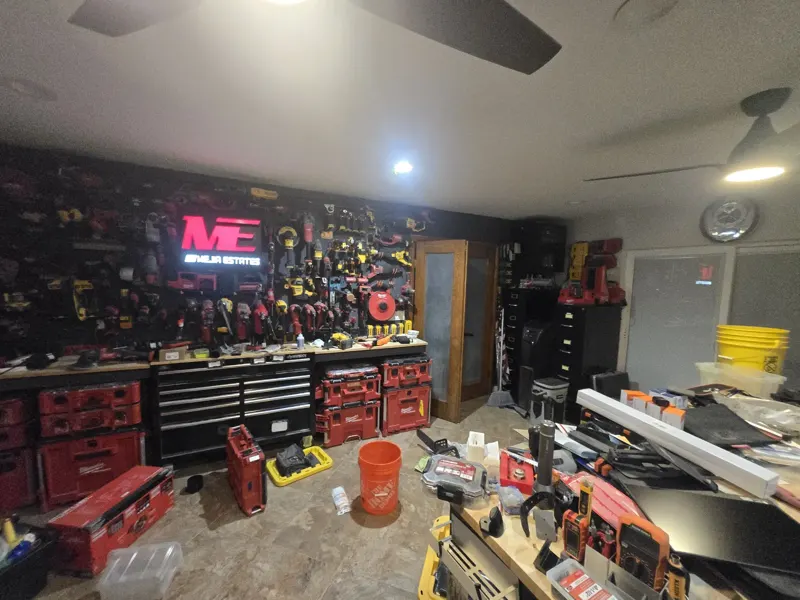
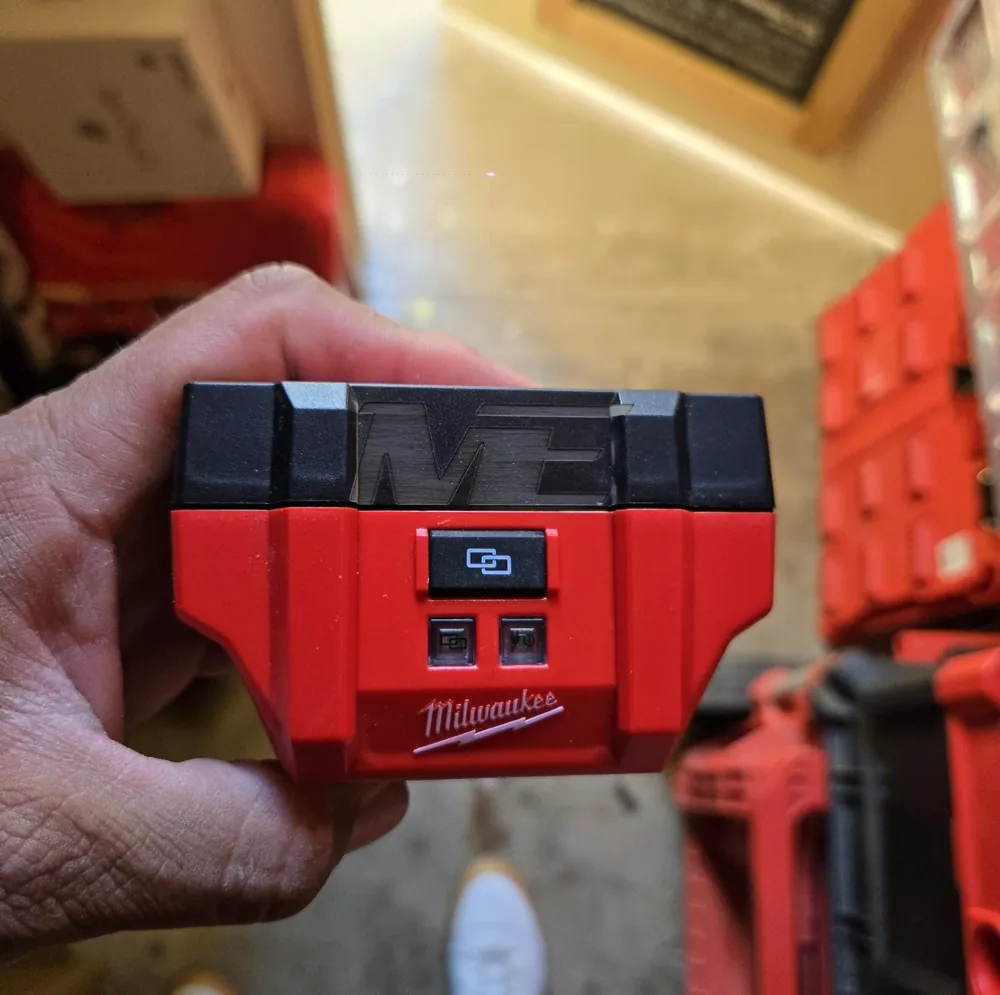
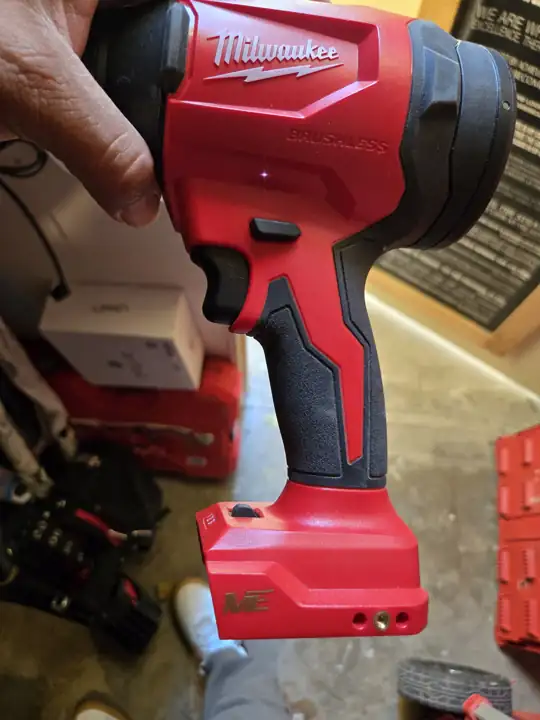
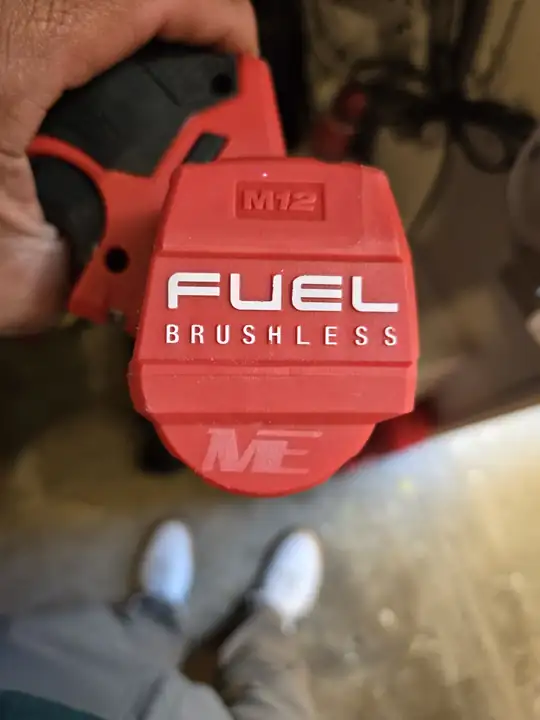
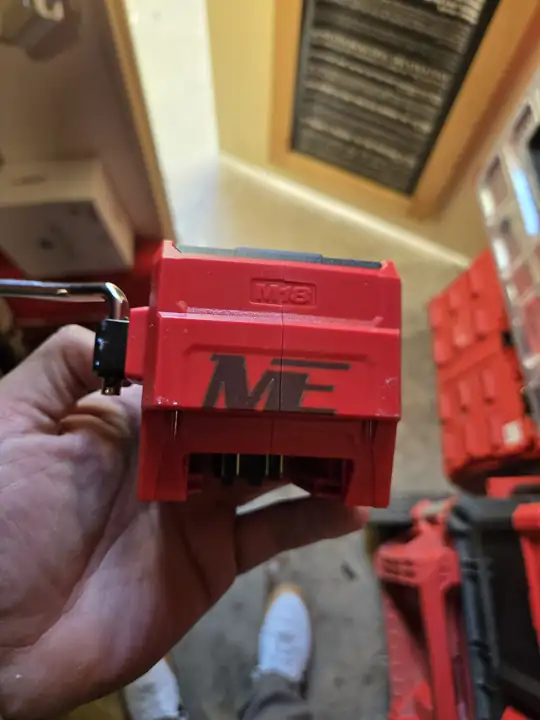
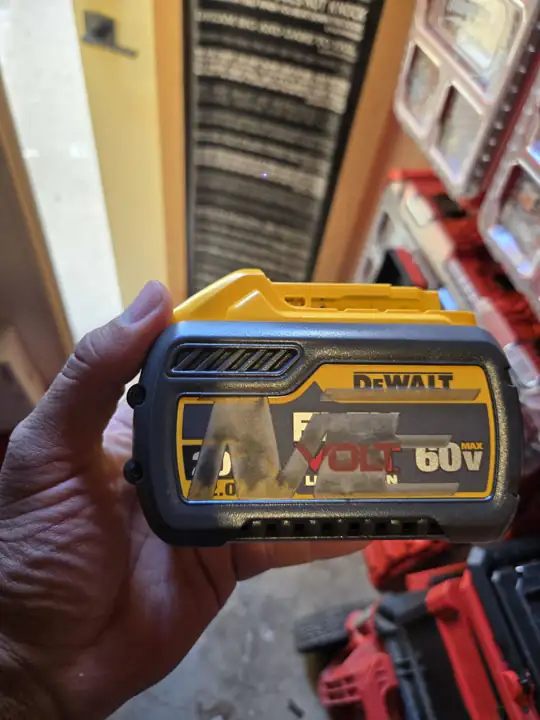
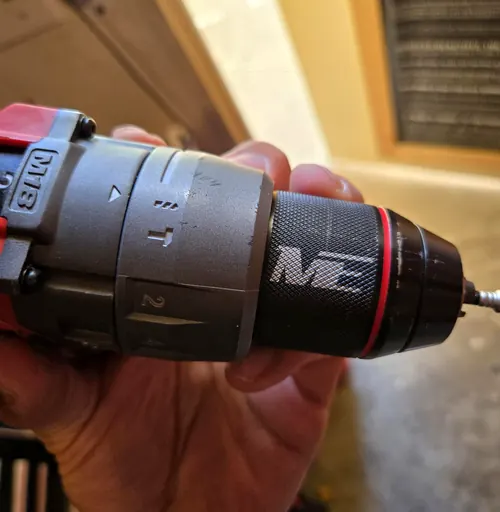
A permanent mark makes a stolen tool hard to sell online or at a swap meet, and helps you prove it is yours when police recover it. Every tool and battery in our shop carries our ME logo; this is how we do it.
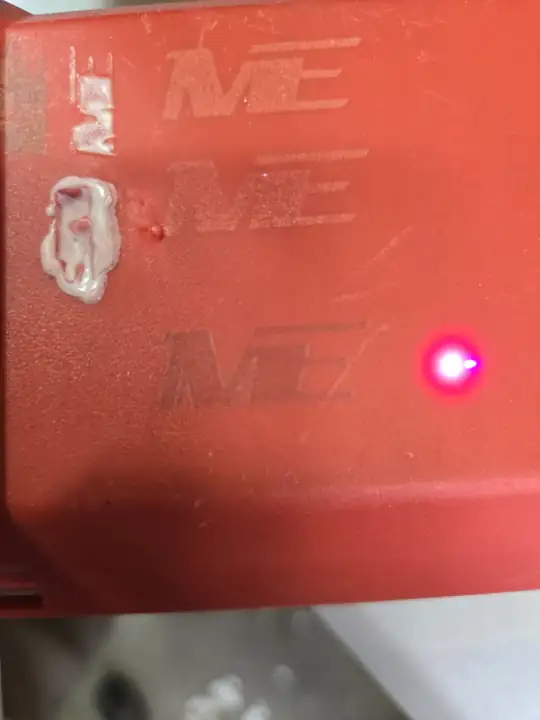
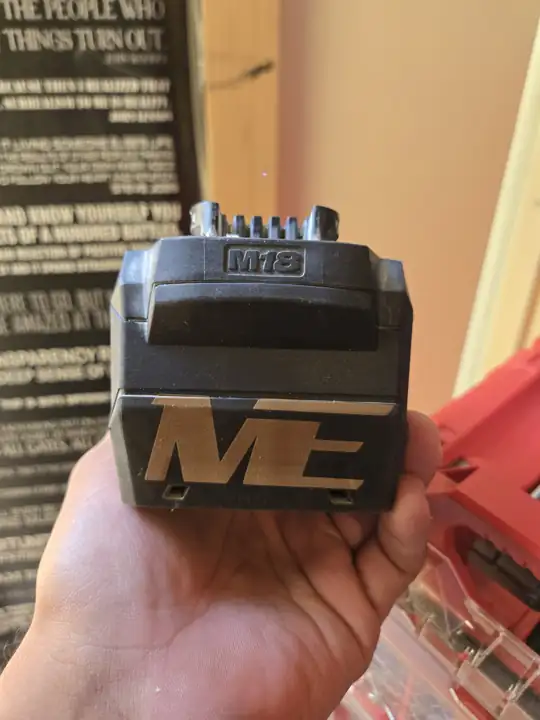
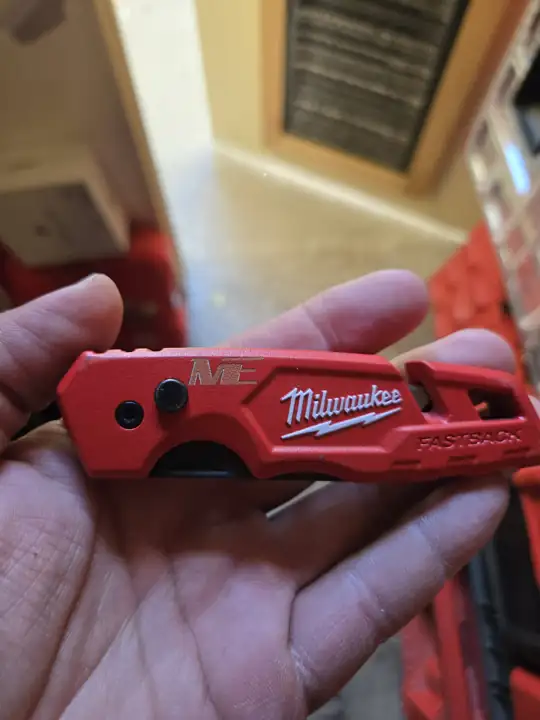
Before you engrave
- Register the tool with the brand and keep the serial number. Milwaukee users can add it to ONE-KEY.
- Decide what goes on every tool: company name or logo, phone number and an asset number such as ME-014.
- Keep a log: asset number, model, serial number, purchase date, a photo of the tool and a photo of the engraving.
Where to engrave
- On a flat area that is never replaced: the chuck collar, the motor housing, the battery cap or the case lid.
- Away from vents, safety labels and the serial-number plate. Never cover that information.
- On batteries, only on the plastic housing and at low power. Never engrave over the cells or burn through the case.
Settings and safety
- Test first on a scrap of the same material or on a hidden spot.
- Start at low power and raise it a little at a time until the mark is readable. You want contrast, not depth.
- Run the enclosure fan or exhaust; burnt plastic smokes.
- Never laser PVC or vinyl. The fumes are corrosive to the machine and to your lungs.
- Wear the eye protection rated for your laser, keep an extinguisher nearby and never leave a running laser alone.
Beyond engraving
- Hide a Bluetooth tracker in expensive tools or the case.
- Turn on ONE-KEY on compatible Milwaukee tools.
- If something is stolen, send police the serial numbers and the photos of the engraving.
Engraving can affect resale value, and damaging a housing can affect warranty. Engrave shallow and away from working parts.
What we use
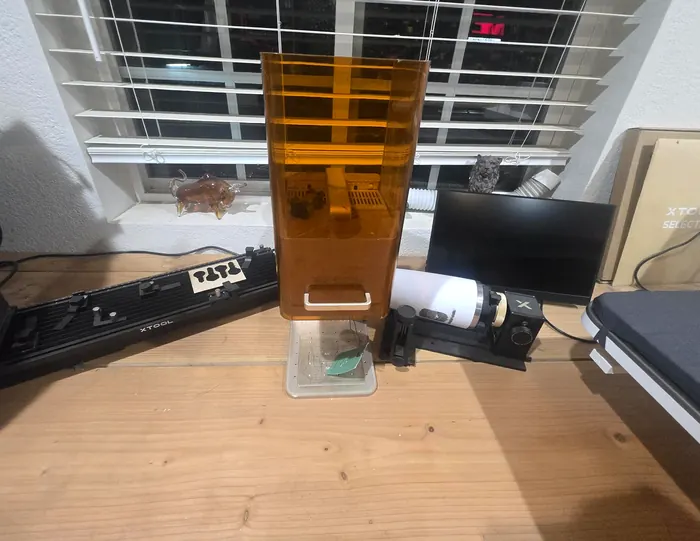
We engrave with an xTool F2 (infrared and diode lasers) and use a rotary attachment for round parts. See the full laser and 3D page for our machines, jigs and printed tool mounts.